- Denial:

Anger:

Bargaining:

Let’s talk this out. Come on. WHERE IS IT?
Depression:

Acceptance:

I KNEW IT! I GOT THIS!


Exploring the future of electronic publishing
Anger:
Bargaining:
Depression:
Acceptance:


When I first heard that I would be creating a website in this class after I learned to use WordPress in college, I thought, “I got this.”
Then, portfolio site and HTML were used in the same sentence.
And I found out I had to create the site by writing code, NOT by plugging preferences into WordPress themes.
But I always wondered what coding actually consisted of, and whether it was as hard as it looked.

Turns out coding is easier than it looks, but seeing as it looks insanely difficult, that’s not saying much.
I started out and I thought I was making sense, but then I tried to preview my code and got NOTHING!

After several rough starts and even more fixes, my wireframe sketch was on its way to looking like a usable HTML code, and I was on my way to becoming a coding master (read: novice).
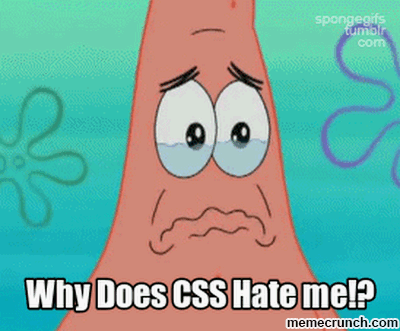
http://bbrunomoraes.tumblr.com/post/116512773452/every-generation-has-its-own-moves%20 But just when it was all starting to make sense, CSS joined the party and I was back to panic mode.

After several hours of trial and error entering CSS code into my stylesheet, I refreshed the link in my browser for the thousandth time and voila. The preview actually looked like a webpage.

Now I’m a web designer. Yay! …well, not technically, but I still conquered that code in the end.

Until I previewed it from a larger computer screen and it looked all wrong! So I decided to tackle responsive design, which brings on a host of new issues.
I can safely say that until two weeks ago my knowledge of HTML was limited to familiarity with what it looked like and the most basic formatting. Does anybody remember the LiveJournal fiasco where some update suddenly turned any text copied and pasted from Word into a jumbled mess? I do. And as Jim Carrey said, “Desperation is a necessary ingredient to learning anything, or creating anything.” But the ability to italicize, boldface, or underline text and set up paragraphs did not prepare me for the challenges of designing my own website.
The initial designs for my website call for two columns, the smaller one on the right with links to blogs I’ve written and the one on the left with my headshot and bio at the top. The problem I ran into was that while I knew how to insert an image and how to format text, I didn’t know how to wrap the text around an image rather than simply be below it, which is what I wanted to have done.
After a very simple Google search, I found the (also very simple) solution to my problem.
The first step was to enter the HTML for my headshot, as I had been doing.
< img src=“http://UrlOfImage/”>
The image I had chosen was far too big for what I wanted it to do, so I added height=“150” width=“150.” For the time being, until I have more of the website organized the way I want it, a 150 by 150 pixel image will do. Now to add the step that allows the text to wrap around the right side of an image: align=“left”.
The complete HTML for what I wanted to do is < img src=“http://UrlOfImage/” height=“150” width=“150” align=“left”> and then add the text in p tags below that.
You must be logged in to post a comment.